

In today’s world, smartphones are more than just tools for communication—they are powerful cameras in your pocket. Mobile photography has grown tremendously, allowing anyone to capture beautiful moments without a professional camera. Whether you are an aspiring photographer, a social media enthusiast, or just someone who loves capturing memories, learning mobile photography tips and tricks can elevate your photos from ordinary to extraordinary.
In this article, we will explore practical, easy-to-follow tips and tricks that will help you take stunning mobile photos. We’ll also answer some common questions about mobile photography so you can feel confident behind the lens.
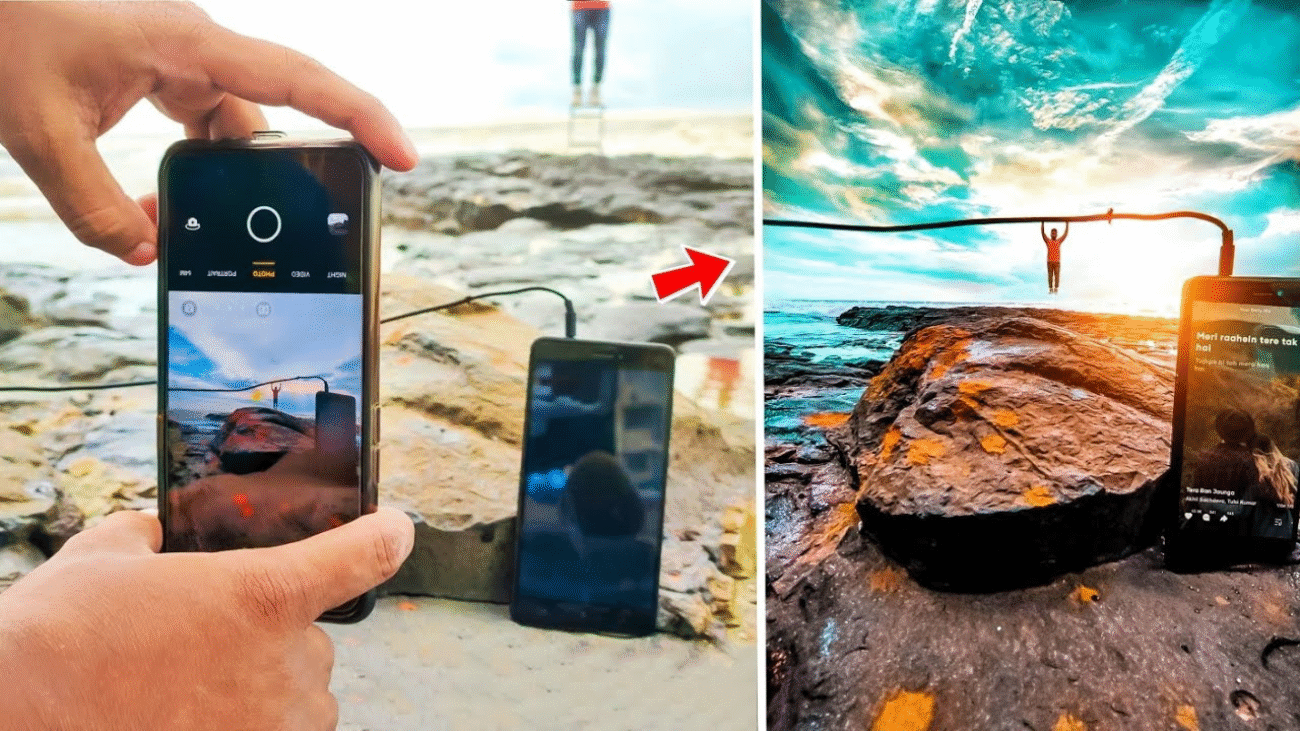
1. Understand Your Camera’s Capabilities
Before taking amazing photos, it’s essential to understand what your phone camera can do. Most modern smartphones come with multiple lenses, like wide-angle, ultra-wide, and telephoto. Each lens is suitable for different types of shots:
- Wide-angle: Perfect for landscapes and group photos.
- Ultra-wide: Captures more of the scene, great for architecture or nature.
- Telephoto: Ideal for zooming in on distant subjects without losing detail.
Additionally, explore features like HDR (High Dynamic Range), night mode, and portrait mode. Understanding these features helps you make the most of your camera in different lighting and settings.
2. Focus on Composition
Composition is the art of arranging elements within your frame. Good composition makes your photos visually appealing. Here are some simple rules to follow:
- Rule of Thirds: Imagine your screen divided into nine equal parts. Place your subject along the lines or intersections for a balanced photo.
- Leading Lines: Use natural lines like roads, fences, or rivers to guide the viewer’s eyes toward your subject.
- Framing: Frame your subject using objects like windows, doors, or trees to create depth.
- Symmetry: Symmetrical shots are naturally pleasing to the eye. Look for patterns in architecture or nature.
Remember, these rules are guides—not strict laws. Experimenting and breaking the rules can also create unique and striking images.
3. Make the Most of Natural Light
Lighting can make or break a photo. The best light is natural light, which can enhance colors and details. Here’s how to use it effectively:
- Golden Hour: This is the hour after sunrise or before sunset when the light is soft and warm. Photos taken during this time look magical.
- Avoid Harsh Noon Sun: Direct sunlight at noon can create harsh shadows. If shooting at this time, find shaded areas or use the sunlight creatively.
- Window Light: For indoor photography, position your subject near a window for soft, flattering light.
Always try to avoid using your phone’s flash unless absolutely necessary. Natural light creates more realistic and appealing photos.
4. Keep Your Lens Clean
It may sound simple, but a dirty lens can ruin a perfect shot. Phone lenses can easily get smudged with fingerprints, dust, or dirt. A quick wipe with a soft cloth before shooting ensures sharp, clear images.
5. Use Manual Settings and Pro Modes
Many smartphones now come with manual or pro modes that allow you to adjust settings like ISO, shutter speed, and white balance. Learning these settings gives you more control over your photos:
- ISO: Controls the camera’s sensitivity to light. Lower ISO is better in bright conditions; higher ISO works in low light.
- Shutter Speed: Determines how long the camera sensor is exposed to light. Use fast speeds to freeze motion and slow speeds for creative effects like motion blur.
- White Balance: Adjusts the color temperature to make your photos look natural under different lighting conditions.
Experimenting with these settings can dramatically improve your photography skills.
6. Experiment with Angles and Perspectives
Avoid taking photos from just eye level. Changing your angle can create more dynamic and interesting shots:
- Low Angle: Makes your subject appear larger and more powerful.
- High Angle: Gives a unique perspective and is great for capturing crowds or landscapes.
- Overhead Shots: Perfect for food photography, flat lays, or creative compositions.
Try moving around your subject instead of just zooming in. Different perspectives can completely change the story your photo tells.
7. Focus on Details and Textures
Close-up shots can reveal interesting textures and details that often go unnoticed. Most smartphones have excellent macro capabilities—use them to photograph flowers, leaves, fabrics, or even everyday objects. Focusing on details makes your photos more engaging and artistic.
8. Use Editing Apps Wisely
Editing can enhance your photos, but overdoing it can make them look unnatural. Some popular mobile editing apps include Snapseed, Lightroom, and VSCO. Here are some basic editing tips:
- Adjust brightness, contrast, and saturation to make your photos pop.
- Use the crop and straighten tools to improve composition.
- Apply filters sparingly to maintain a natural look.
Editing is a skill that improves with practice, so experiment and develop your own style.
9. Stabilize Your Shots
Shaky hands can ruin a photo. To avoid blurry shots:
- Hold your phone with both hands and keep your elbows close to your body.
- Use a tripod or phone stand for long exposure shots or low light photography.
- Tap on the screen to focus before taking the photo.
A steady shot is key to capturing sharp, high-quality images.
10. Practice Regularly and Learn From Others
Photography is an art that improves with practice. Take photos daily, experiment with new techniques, and analyze what works and what doesn’t. Follow other photographers on social media for inspiration, but remember to develop your own style. Consistent practice is the fastest way to become a skilled mobile photographer.
FAQs About Mobile Photography
1. Can I take professional-quality photos with a smartphone?
Yes! Modern smartphones have advanced cameras capable of capturing stunning, high-resolution images. Learning composition, lighting, and editing can bring your photos to a professional level.
2. What’s the best phone camera for low-light photography?
Phones with larger sensors, wide apertures, and night mode features perform best in low light. Brands like Apple, Samsung, and Google are known for excellent low-light capabilities.
3. Should I always use the camera’s auto mode?
Auto mode is convenient, but using manual or pro mode gives more control over your photos. Adjusting settings like ISO, shutter speed, and white balance can dramatically improve your shots.
4. How can I make my photos more creative?
Experiment with angles, perspectives, and lighting. Include foreground objects, try reflections, and focus on textures to add depth and creativity to your shots.
5. Are editing apps necessary for good photos?
Editing apps are not necessary but can enhance your images. Subtle adjustments to brightness, contrast, and color balance can transform a good photo into an exceptional one.
Conclusion
Mobile photography is a fun, accessible, and creative way to capture the world around you. By understanding your camera, experimenting with composition, lighting, angles, and editing, you can take stunning photos without expensive equipment. Remember, practice and curiosity are key—take your phone out, explore your surroundings, and don’t be afraid to experiment. With these tips and tricks, you’re ready to elevate your mobile photography game and create images that truly stand out.
Add a Comment